Veneers in Spokane, WA


Veneers in Spokane, WA
Many Spokane patients are curious about what happens to your tooth during veneer placement. The process involves more than simply gluing a thin shell to your smile. It requires careful preparation, skilled shade matching, and a short temporary phase before your final results appear. Understanding each step helps you feel confident and informed before you begin.
At Cascade Dental Care – South Hill, Dr. Robert Walker guides every patient through the veneer journey with patience and precision. This article walks you through the full procedure from your first consultation to your final bonding appointment.
Your Veneer Consultation in Spokane: Where It All Begins
The veneer process starts with a thorough consultation. Dr. Walker examines your teeth, gums, and bite to confirm you are a strong candidate for veneers. He also discusses your smile goals and reviews your dental history in detail.
During this visit, you will talk about the shape, size, and shade of your future veneers. Digital imaging or study models may be used. These tools help you preview what your new smile could look like before any preparation begins.
Good candidates for veneers typically share these traits:
- Healthy gum tissue with no active disease
- Sufficient enamel remaining on the tooth surface
- No severe grinding or clenching habits
- Realistic expectations about cosmetic outcomes
- A commitment to long-term oral hygiene
If your tooth has significant damage or decay, Dr. Walker may recommend Dental Crowns as a more protective alternative. He will always recommend the option that best serves your oral health.
Enamel Preparation: What Veneer Placement in Spokane Actually Involves
This is the step that surprises many patients. To place a veneer, Dr. Walker removes a thin layer of enamel from the front of your tooth. This layer is typically about 0.5 millimeters thick—roughly the thickness of a contact lens.
Removing this enamel is permanent and necessary. It creates space so the veneer sits flush with your surrounding teeth. Without this step, your veneers would look bulky and unnatural.
Here is why enamel removal matters:
- It allows the veneer to bond securely to the tooth surface
- It creates a natural-looking thickness and contour
- It prevents the veneer from pushing your bite out of alignment
- It improves the overall long-term durability of the restoration
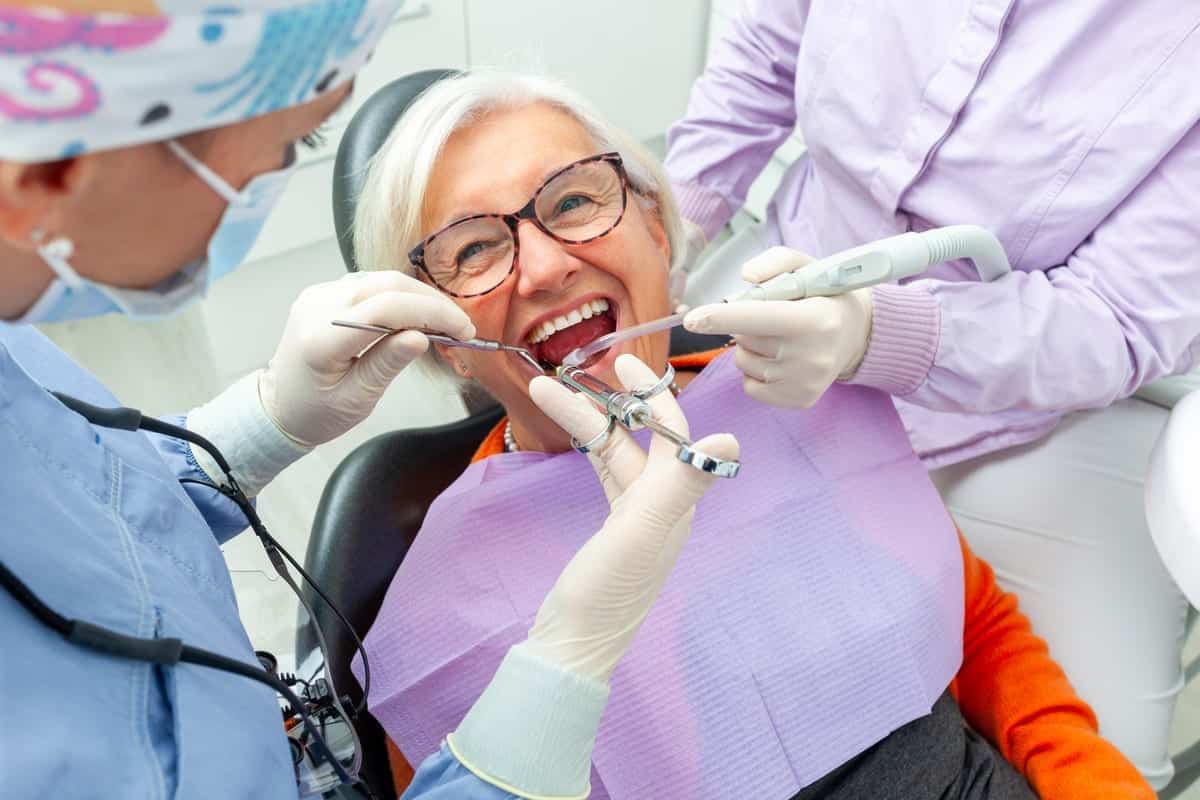
Local anesthesia is often used during this step to keep you comfortable. The process is precise and controlled, not painful. Dr. Walker works carefully to remove only what is needed.
After preparation, detailed impressions or digital scans are taken of your tooth. These are sent to a dental laboratory where your custom porcelain veneer is crafted. That process typically takes one to two weeks.
The Temporary Phase: Protecting Your Tooth Between Appointments
Once your enamel has been reduced, your tooth is more sensitive and exposed. Dr. Walker places a temporary veneer to cover and protect it. This temporary restoration stays in place while your permanent veneer is being made.
Temporary veneers are not as polished or durable as your final porcelain ones. They are made from acrylic and are bonded with a lighter adhesive. This makes them easier to remove at your follow-up appointment.
During the temporary phase, you should keep a few things in mind:
- Avoid hard or sticky foods that could dislodge the temporary
- Be gentle when brushing and flossing near that tooth
- Contact Dr. Walker immediately if the temporary comes off
- Expect some sensitivity to hot and cold temperatures
This phase typically lasts one to two weeks. Think of it as a preview of your new smile length and shape. Many patients use this time to give feedback about fit and appearance before the final veneer is confirmed.
If you experience sharp pain during this phase, mention it to our team. Severe or persistent pain could indicate an underlying concern, such as pulp involvement, which might require Root Canals before veneer placement can continue.
Shade Selection: Choosing the Right Color for Your Smile
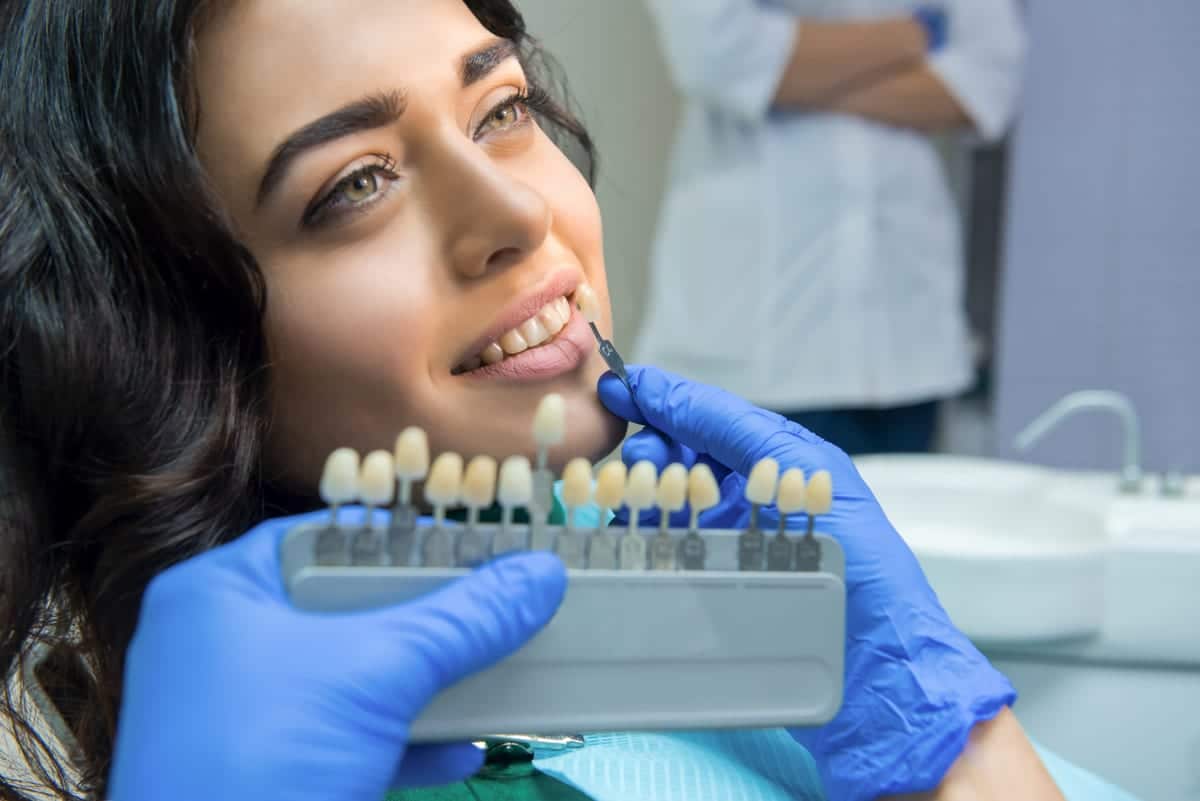
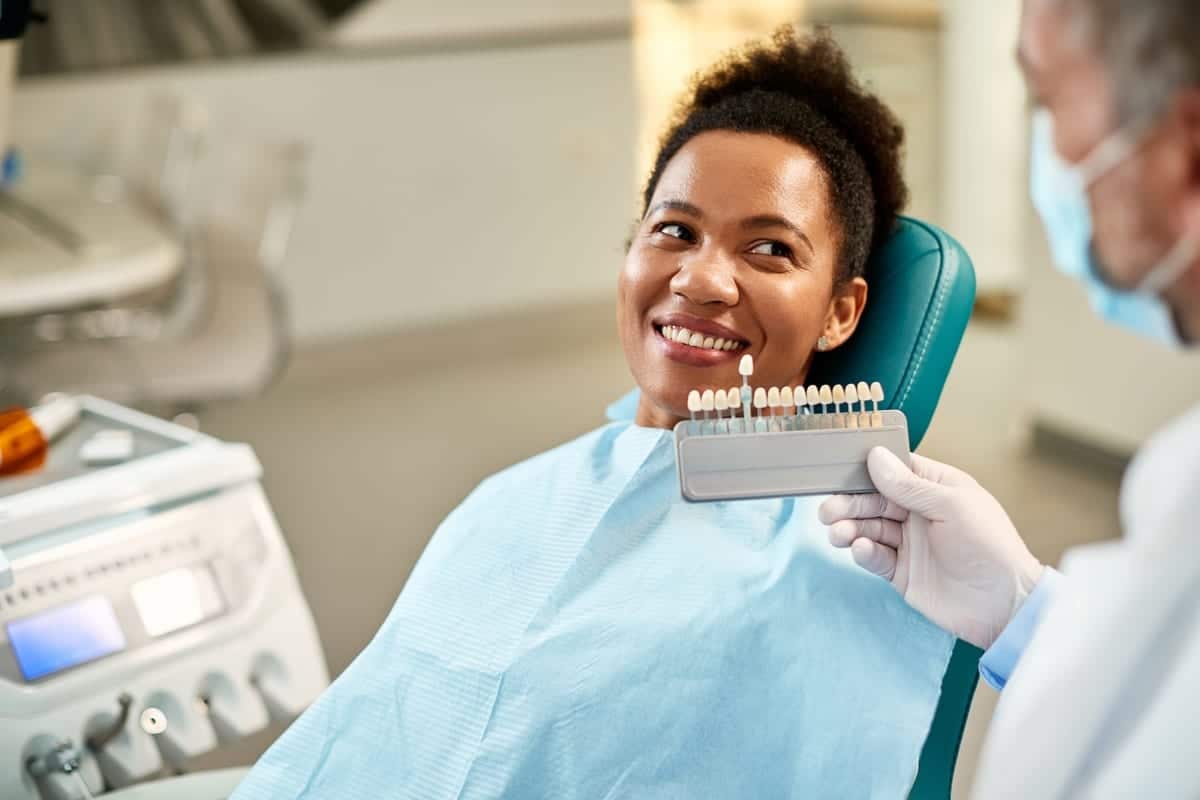
Shade selection is one of the most personalized parts of the veneer process. Dr. Walker uses a clinical shade guide to match your veneer color to your surrounding teeth. The goal is a result that looks natural and seamless.
Many patients want a noticeably brighter smile. That is completely achievable with veneers. Dr. Walker will discuss the spectrum of shades available and help you choose one that flatters your skin tone and facial features.
Lighting plays a big role in shade perception. Dr. Walker evaluates your tooth color under multiple light conditions. This reduces the chance of an unexpected mismatch once the veneer is placed.
If you plan to whiten your natural teeth before getting veneers, do so first. Veneers cannot be whitened after bonding. Whitening beforehand ensures your veneers are crafted to match your brightest natural shade.
Final Bonding: Placing Your Permanent Veneer
When your permanent veneer arrives from the lab, you return for your final appointment. Dr. Walker removes your temporary and thoroughly cleans your tooth. He then checks the fit and shade of the new veneer before committing to bonding.
A special dental cement is applied to the veneer and your prepared tooth surface. The veneer is carefully positioned and pressed into place. A curing light then activates and hardens the bonding agent within seconds.
Dr. Walker makes final adjustments to your bite and polishes the veneer edges. Most patients walk out of this appointment with a complete, radiant new smile. The entire bonding visit typically takes about one to two hours.
After bonding, your new veneer functions just like a natural tooth. You can eat, speak, and smile with full confidence. With proper care, porcelain veneers can last ten to twenty years.
Conclusion: Your Smile Transformation Starts With Knowledge
Understanding what happens to your tooth during veneer placement in Spokane removes uncertainty and builds trust. From the initial consultation through enamel preparation, the temporary phase, shade selection, and final bonding—each step serves a purpose. Dr. Robert Walker and the team at Cascade Dental Care – South Hill are committed to making this process smooth, comfortable, and rewarding for every patient. Book Now to schedule your appointment with our team.
Frequently Asked Questions
Does getting veneers hurt?
Most patients experience little to no discomfort during the procedure. Dr. Walker uses local anesthesia during the enamel preparation step. Some sensitivity is normal during the temporary phase, but it usually resolves after the final veneer is placed.
How much enamel is removed for a veneer?
Dr. Walker typically removes about 0.5 millimeters of enamel from the front surface of the tooth. This is a very small amount—roughly the thickness of a contact lens. The removal is precise and carefully controlled to preserve as much natural tooth structure as possible.
Can I eat normally with temporary veneers?
You should eat carefully during the temporary phase. Avoid hard, crunchy, or sticky foods that could dislodge or crack the temporary acrylic veneer. Stick to softer foods and chew on the opposite side of your mouth when possible.
How long does the full veneer process take?
The complete veneer process typically spans two to three appointments over two to four weeks. Your consultation, preparation appointment, and final bonding are the main visits. The timeline depends on how quickly the dental laboratory completes your custom porcelain veneer.
Are veneers permanent?
Veneers are considered a permanent cosmetic treatment because enamel removal cannot be reversed. However, the veneers themselves may need to be replaced after ten to twenty years depending on wear and care. Maintaining good oral hygiene and avoiding habits like nail-biting can extend their lifespan significantly.