Dental Implants in Spokane, WA



Dental Implants in Spokane, WA
Thinking about dental implants but unsure what the process involves? You are not alone. Many patients in Spokane feel nervous simply because they do not know what to expect. Understanding your dental implant journey — what happens in every step in Spokane — can replace anxiety with confidence. Dr. Robert Walker and the team at Cascade Dental Care – South Hill are here to walk you through each stage clearly and honestly.
Step One: Your Initial Consultation and Smile Evaluation
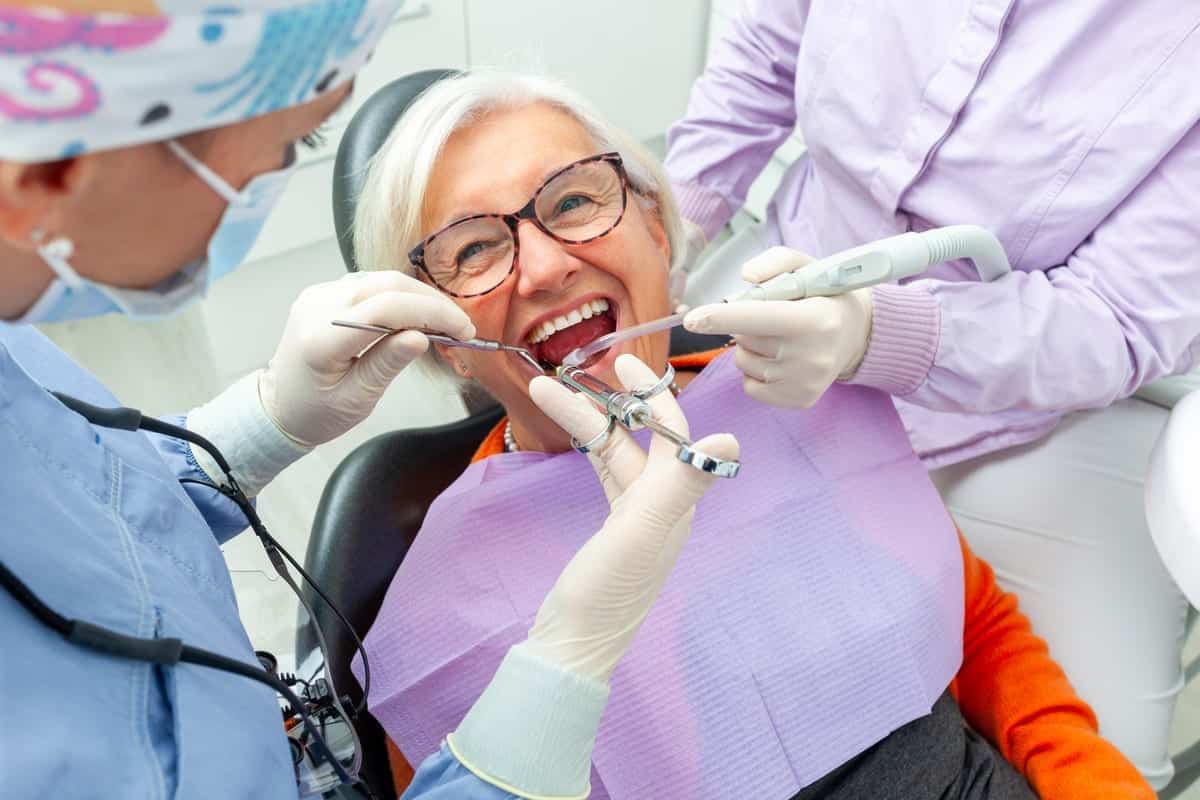
Every implant journey begins with a thorough consultation. Dr. Walker will examine your mouth, gums, and jawbone to determine if implants are right for you. This visit typically includes digital X-rays and a 3D scan of your jaw. These images help the team plan your treatment with precision.
During this appointment, Dr. Walker will also review your medical and dental history. Certain conditions like uncontrolled gum disease can affect implant success. If any issues are found, the team will address them before moving forward. You will leave this visit with a clear, personalized treatment plan.
This is also the ideal time to ask every question on your mind. No question is too small. The team wants you to feel informed and comfortable before any procedure begins. Open communication is a cornerstone of care at Cascade Dental Care – South Hill.
Step Two: Preparing Your Mouth for the Implant Procedure in Spokane
Some patients need preparatory work before implant placement. This may include a tooth extraction if a damaged tooth is still present. It could also involve bone grafting if your jawbone lacks the density needed to support an implant. Not every patient requires these steps — your consultation will clarify what applies to you.
Bone grafting adds volume to areas where bone has been lost. The graft material integrates with your natural bone over several months. This stage requires patience, but it is essential for long-term implant stability. Skipping this step when needed can lead to implant failure down the road.
Other preparatory steps may include treating active gum disease or decay. Healthy gums and bone create the foundation for a successful implant. Think of this stage as building a strong base before constructing a structure. It protects your investment and your health.
- Tooth extraction if a failing tooth is still present
- Bone grafting to strengthen a thin or narrow jawbone
- Gum disease treatment to create a healthy environment
- Any needed Root Canals on adjacent teeth that require attention
Step Three: Implant Placement Surgery and Initial Healing
Implant placement is a surgical procedure performed right in the dental office. Dr. Walker uses local anesthesia to keep you completely comfortable. Most patients report feeling pressure during the procedure but very little pain. The appointment typically lasts one to two hours depending on complexity.
During surgery, a small titanium post is carefully inserted into your jawbone. This post acts as an artificial tooth root. It sits below the gumline and is not visible once the gum is sutured closed. A protective healing cap or temporary crown may be placed over the site.
After surgery, mild swelling, bruising, or discomfort is normal for a few days. Cold compresses and over-the-counter pain relief usually manage these symptoms well. Dr. Walker will provide detailed aftercare instructions before you leave. Following them closely supports smooth and fast healing.
The implant then enters a critical phase called osseointegration. During this process, your jawbone grows around and fuses with the titanium post. This typically takes three to six months. The bond created is incredibly strong — comparable to a natural tooth root.
Step Four: Abutment Placement and Your New Crown
Once osseointegration is complete, the next step is placing the abutment. The abutment is a small connector piece that attaches to the top of the implant post. It protrudes just above the gumline and serves as the anchor for your final crown. This is a minor procedure with minimal recovery time.
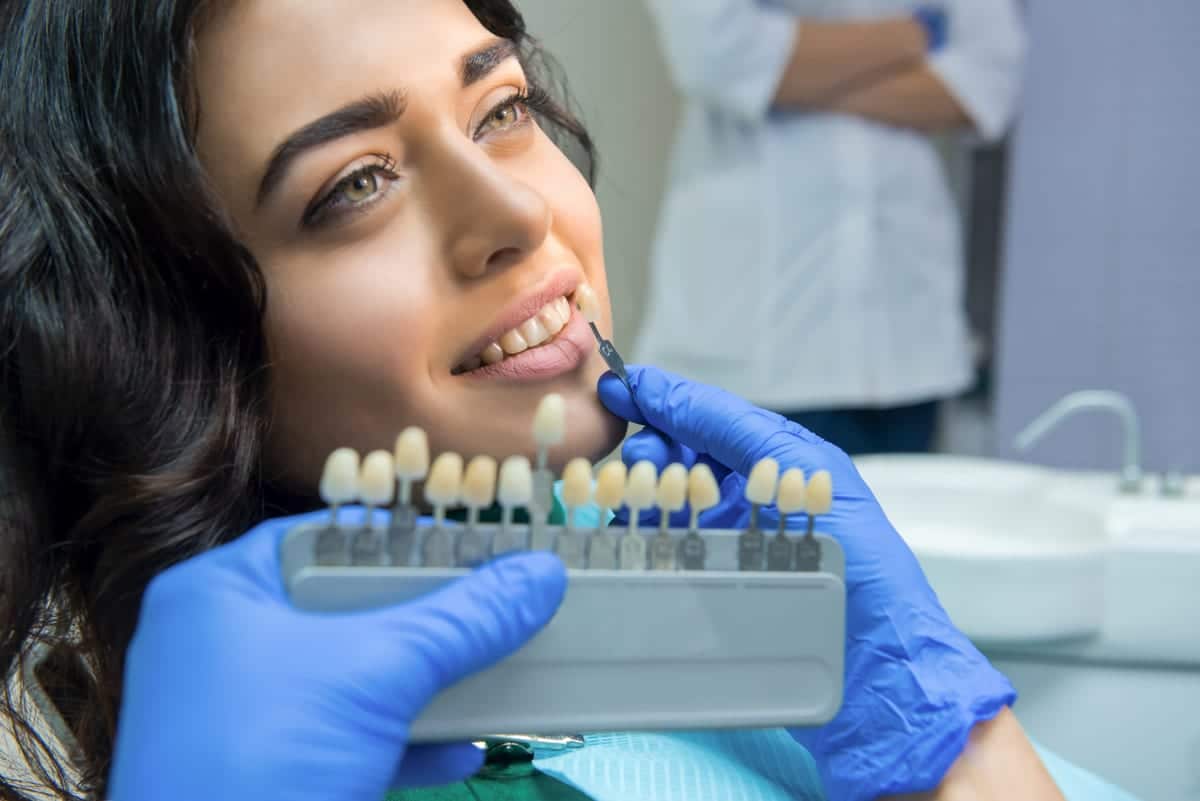
After the abutment is placed, impressions or digital scans are taken of your teeth. A dental laboratory uses these to craft your custom crown. The crown is designed to match your natural teeth in shape, size, and color. You will review the design before it is permanently cemented.
Your final Dental Crowns are crafted from durable, tooth-colored materials like porcelain or zirconia. These materials mimic the appearance and function of real teeth beautifully. Once placed, your implant restoration looks and feels completely natural. Most patients say they forget it is even there.
- Abutment is attached to the healed implant post
- Digital impressions are taken for a precise crown fit
- A custom crown is fabricated to match your natural smile
- The final crown is cemented and adjusted for your bite
- You leave with a fully restored, functional tooth
What Life Looks Like After Your Implant Is Complete
Life after a dental implant is refreshingly straightforward. You can eat, speak, and smile without worry or restriction. Implants do not slip like removable dentures and do not require special adhesives. They function exactly like your natural teeth.
Caring for implants is simple. Brush twice daily, floss regularly, and attend your routine dental check-ups. Dr. Walker and the team will monitor your implant at each visit. Catching any early concerns quickly helps your implant last for decades.
Many patients in Spokane are surprised by how natural their implant feels from day one. There is no awkward adjustment period like with dentures or bridges. You simply go about your normal life with a full, confident smile. That outcome is worth every step of the journey.
The entire process — from consultation to final crown — can range from a few months to about a year. The timeline depends on whether preparatory steps were needed. Dr. Walker will give you a realistic estimate at your consultation. Knowing the timeline upfront helps you plan with confidence.
Ready to Start Your Dental Implant Journey in Spokane?
Understanding each step makes the process far less intimidating. Dr. Robert Walker and the Cascade Dental Care – South Hill team are proud to guide Spokane patients through this life-changing procedure with care and expertise. You deserve a complete smile — and a clear path to get there. Book Now to schedule your appointment with our team.
Frequently Asked Questions
How long does the full dental implant process take in Spokane?
The total timeline varies by patient. Most people complete the process in six to twelve months. If bone grafting is needed, the timeline extends to allow proper healing. Dr. Walker will give you a personalized estimate at your first consultation.
Is dental implant surgery painful?
Most patients experience very little pain during the procedure thanks to local anesthesia. Mild soreness and swelling in the days after surgery are common. Over-the-counter pain relievers and cold compresses typically manage discomfort well. Dr. Walker will review all aftercare steps with you before you leave.
Am I a good candidate for dental implants?
Good candidates have healthy gums and sufficient jawbone density. Adults in good general health who do not smoke heavily tend to have excellent outcomes. Patients with bone loss may still qualify after a bone graft. The best way to find out is through a consultation with Dr. Walker.
How do I care for my dental implant after it is placed?
Care for your implant just as you would a natural tooth. Brush twice a day, floss daily, and visit Cascade Dental Care – South Hill for regular check-ups. Avoid biting hard objects like ice or pen caps. With proper care, implants can last a lifetime.
What makes dental implants better than other tooth replacement options?
Dental implants are the only tooth replacement option that preserves jawbone and mimics a natural tooth root. They do not affect neighboring teeth the way bridges sometimes do. Implants are stable, permanent, and feel completely natural. They are widely considered the gold standard in tooth replacement.