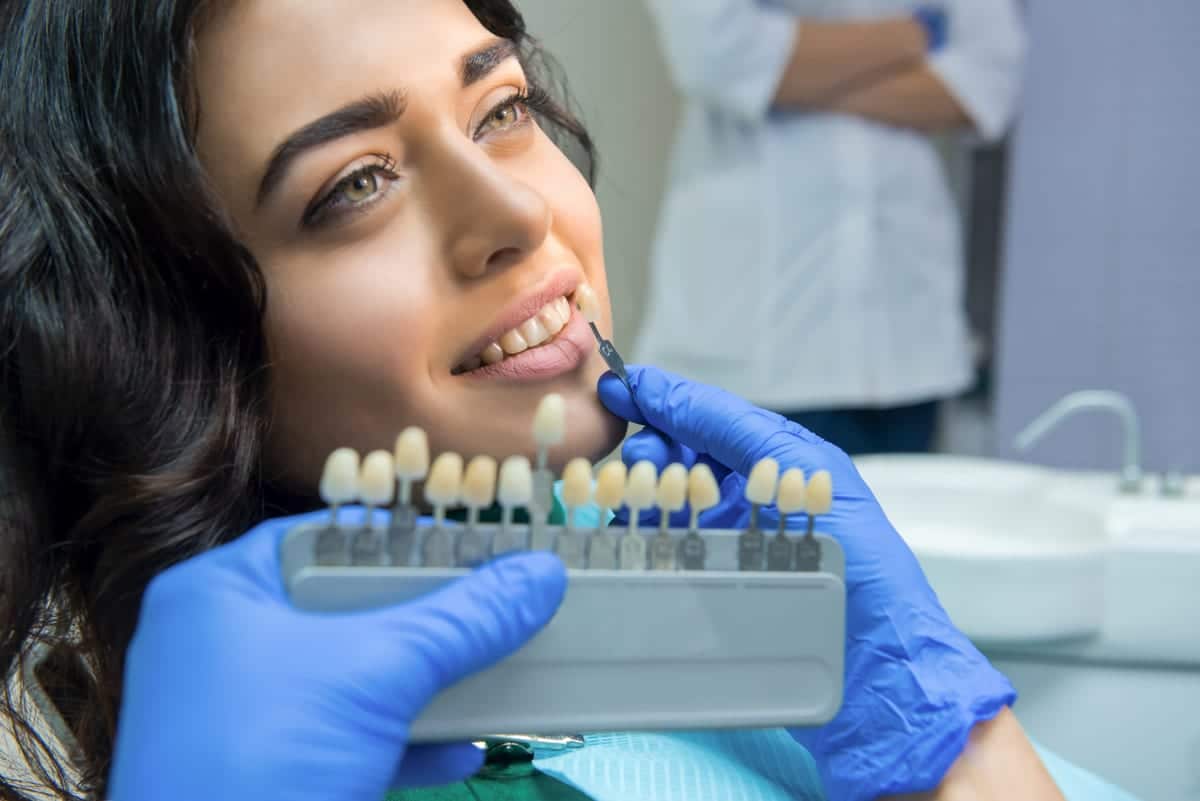
Dental Crown Appointment Guide



Dental Crown Appointment Guide
If you live in Town and Country and have been told you need a crown, it is completely normal to feel a little nervous. Knowing exactly what happens during your dental crown appointment can make a huge difference. Dr. Robert Walker at Cascade Dental Care – North Spokane walks patients through every step before anything begins. Understanding the process from numbing to temporary placement to final seating helps reduce anxiety and builds real confidence.
Why Dental Crowns Are Recommended in Town and Country
A dental crown is a tooth-shaped cap placed over a damaged or weakened tooth. Crowns restore the tooth’s shape, strength, and appearance all at once. Dr. Walker may recommend a crown after a large filling, a cracked tooth, or following Root Canals treatment. Crowns are also used to anchor Dental Bridges securely in place.
Many Town and Country patients ask whether a crown is truly necessary. The answer depends on the condition of your tooth. Leaving a damaged tooth untreated can lead to bigger problems over time. A crown is often the most reliable long-term solution available.
Step-by-Step: What Happens During Your Dental Crown Appointment
Most crown procedures require two separate visits to our office. The first visit focuses on preparation and a temporary crown. The second visit seats the permanent crown securely. Here is exactly what you can expect at each stage.
Step One: Examination and X-Rays
Dr. Walker begins by reviewing your X-rays and examining the tooth. This confirms the crown is the right treatment for your situation. If any decay is present, it gets removed before anything else happens.
Step Two: Local Anesthesia
A numbing gel is applied to the gum area first. Then a small injection delivers local anesthesia to fully numb the tooth and surrounding tissue. Most patients feel only mild pressure after this point. Discomfort is minimal once the area is fully numb.
Step Three: Tooth Reshaping
Dr. Walker gently reshapes the tooth to create space for the crown. A small amount of enamel is removed from the top and sides. This ensures the crown fits naturally alongside your other teeth. The amount removed is carefully controlled to protect the tooth’s structure.
Step Four: Digital Impressions
Our team takes a precise digital scan or physical impression of your tooth. This impression is sent to a dental laboratory. The lab uses it to craft a crown that matches your bite and blends with your smile. Accuracy at this stage is critical for a great final result.
Step Five: Temporary Crown Placement
Before you leave the first appointment, a temporary crown is placed over the prepared tooth. This protects the tooth while your permanent crown is being made. Temporary crowns are not as strong as permanent ones, so some care is needed. Avoid sticky or hard foods during this period.
- Avoid chewing gum or sticky candy on the temporary crown side
- Brush gently around the temporary crown
- Floss carefully — pull the floss sideways rather than lifting it out
- Contact our office if the temporary crown comes loose or feels uncomfortable
Your Second Appointment: Final Crown Placement
The second visit typically takes place two to three weeks after the first. By then, your permanent crown has arrived from the dental laboratory. Dr. Walker removes the temporary crown and cleans the tooth surface carefully. The permanent crown is then checked for fit, color match, and comfort before final cementing.
Small adjustments are common at this stage. Dr. Walker will ask you to bite down on special paper to check your bite alignment. Any high spots are polished down quickly. Once everything feels right, the crown is bonded permanently in place.
After the cement sets, the area is cleaned and your bite is checked one final time. Most patients leave this appointment feeling relieved and comfortable. The entire second visit usually takes under an hour. Normal chewing can typically resume the same day once the anesthesia wears off.
- Permanent crowns are designed to last 10 to 15 years or longer with proper care
- Brush twice daily and floss around the crown each day
- Schedule regular checkups so Dr. Walker can monitor the crown’s condition
- Avoid habits like nail biting or chewing ice that can stress the crown
Managing Sensitivity and Recovery After Your Crown Procedure
Some sensitivity is completely normal in the days following each appointment. The tooth may feel sensitive to hot, cold, or pressure for a short time. Over-the-counter pain relievers usually manage any mild discomfort well. Most patients return to their normal routines the very same day.
If sensitivity feels severe or lasts more than two weeks, contact our office. Occasionally the bite needs a small adjustment after placement. This is a simple and quick fix that takes only a few minutes. Dr. Walker wants every Town and Country patient to feel fully comfortable with their result.
Gum tenderness around the crown site is also common in the first few days. Rinsing with warm salt water can soothe the area gently. Avoid very hot or very cold foods during the first 24 to 48 hours. These small steps make recovery faster and more comfortable.
Frequently Asked Questions
How long does the entire dental crown process take?
Most patients complete the crown process in two appointments spaced about two to three weeks apart. The first visit typically takes 60 to 90 minutes. The second visit for final placement usually takes less than an hour. Same-day crown options may be available depending on your specific situation.
Will I feel pain during my dental crown appointment?
Dr. Walker uses local anesthesia to fully numb the area before any preparation begins. Most patients feel only light pressure during the procedure. Some sensitivity or mild soreness can occur after the anesthesia wears off. Over-the-counter pain relievers are usually enough to manage any discomfort.
Can I eat normally while wearing a temporary crown?
You should eat soft foods and avoid sticky or hard items while wearing a temporary crown. Chew on the opposite side of your mouth when possible. Temporary crowns are less durable than permanent ones and can come loose. Contact our office right away if your temporary crown falls off.
How do I care for my permanent dental crown?
Care for a crown just like you care for your natural teeth. Brush twice daily using a soft-bristle toothbrush and fluoride toothpaste. Floss daily, sliding the floss gently around the base of the crown. Visit Dr. Walker for regular checkups so the crown can be monitored over time.
What if my crown feels too high or uncomfortable after placement?
A crown that feels too high is a common and easily corrected issue. Contact our office and schedule a quick bite adjustment appointment. Dr. Walker will check the crown with special bite paper and smooth down any high spots. This adjustment takes only a few minutes and requires no anesthesia.
At Cascade Dental Care – North Spokane, Dr. Robert Walker and the team are committed to making every crown procedure clear, comfortable, and stress-free for Town and Country patients. You deserve to feel informed and at ease every step of the way. Book Now to schedule your appointment with our team.